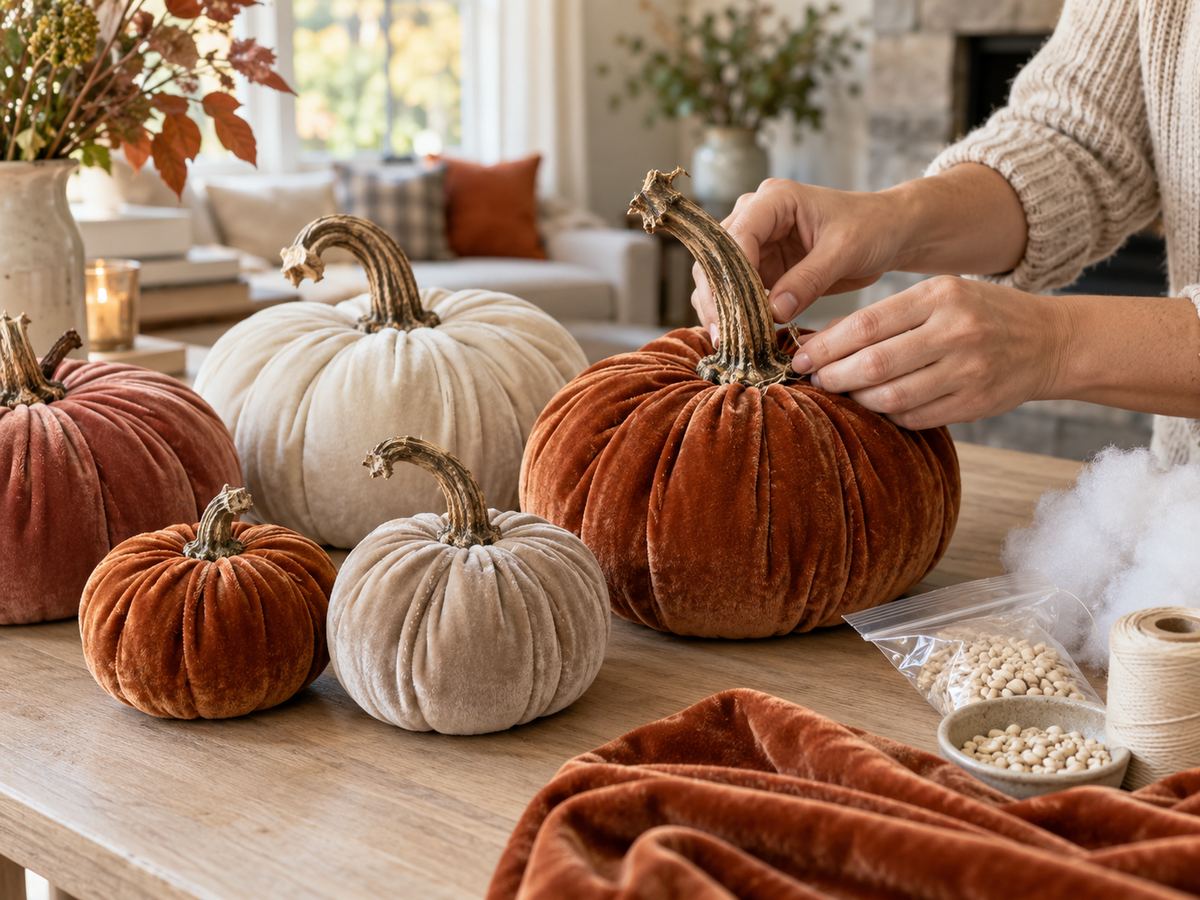
What you'll need
Find it links go to Amazon. As an Amazon Associate we earn from qualifying purchases. How we make money
How to make it
Hot glue burns, so hold stems by the top and keep a bowl of cool water nearby.
 1
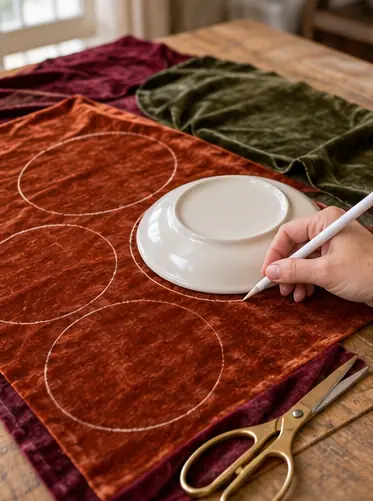
Cut circles
Trace plates or bowls on the back of the velvet. Try 18, 14 and 10 in circles for a set of 3.
 2
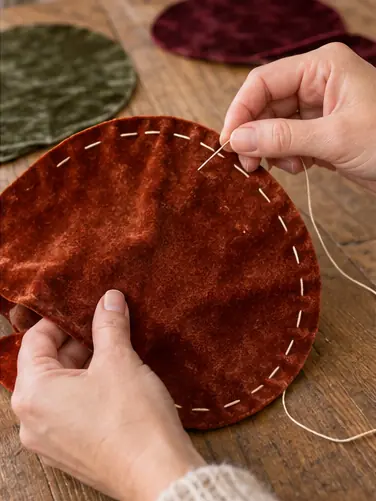
Sew a running stitch
Knot a long piece of thread. Sew big stitches all the way around, 1/2 in from the edge.
 3
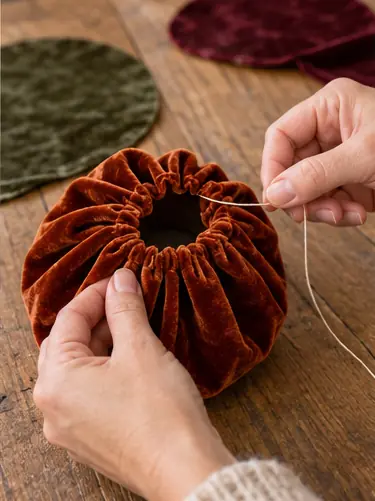
Gather it
Pull the thread so the circle cups into a pouch, velvet side out.
 4
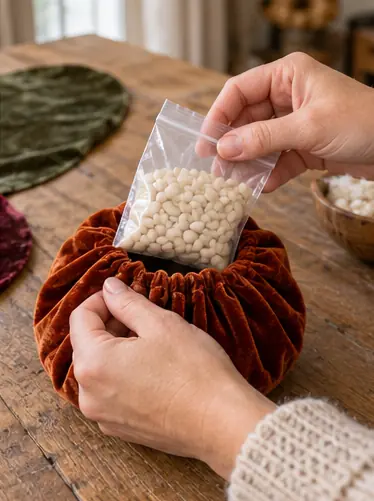
Add weight
Drop the bag of beans into the bottom. This makes them sit like real pumpkins.
 5
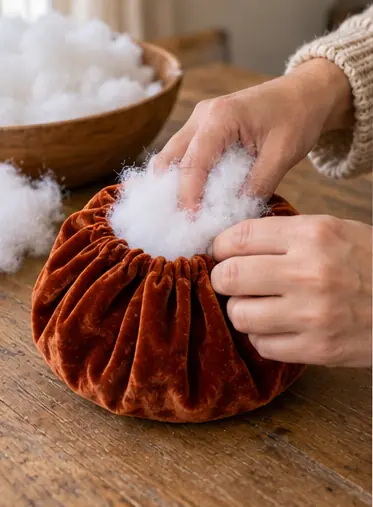
Stuff it
Fill with fiberfill until it's plump but still squishy.
 6
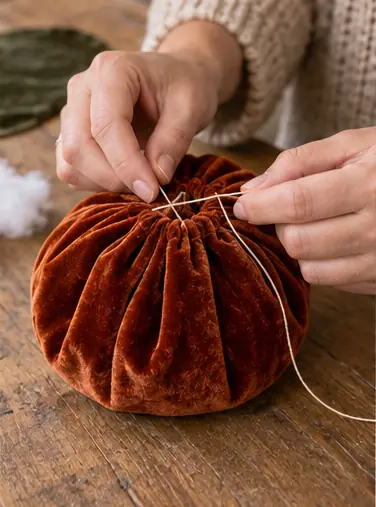
Close it up
Pull the thread tight, then stitch back and forth across the opening a few times. Knot it.
 7
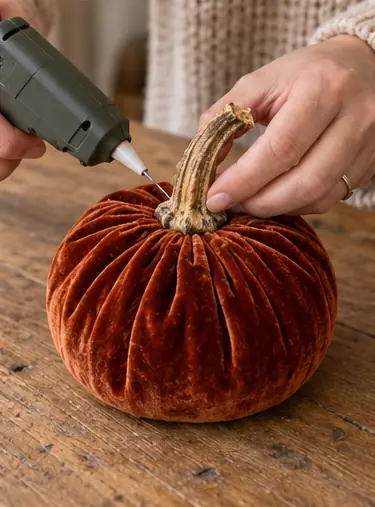
Glue on the stem
Add a dab of hot glue and press the stem over the gathered top. Hold 30 seconds.
 Edie's tip
Save the stems from your real pumpkins each fall. Let them dry 2 weeks and they last for years.
Written by the DIY Project team. How we check · Report a mistake