What you'll need
Tools
- SandpaperFind it →
- Measuring spoon
Find it links go to Amazon. As an Amazon Associate we earn from qualifying purchases. How we make money
How to make it
Safety
Use strong craft glue only with a window open, and keep it as a grown-up job.
 1
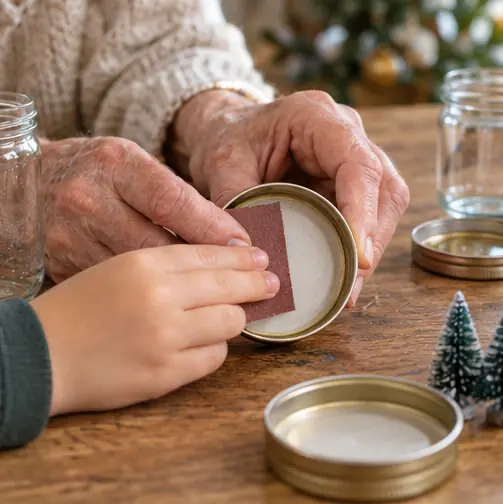
Roughen the lid
Sand the inside of the lid a little so the glue grabs.
 2
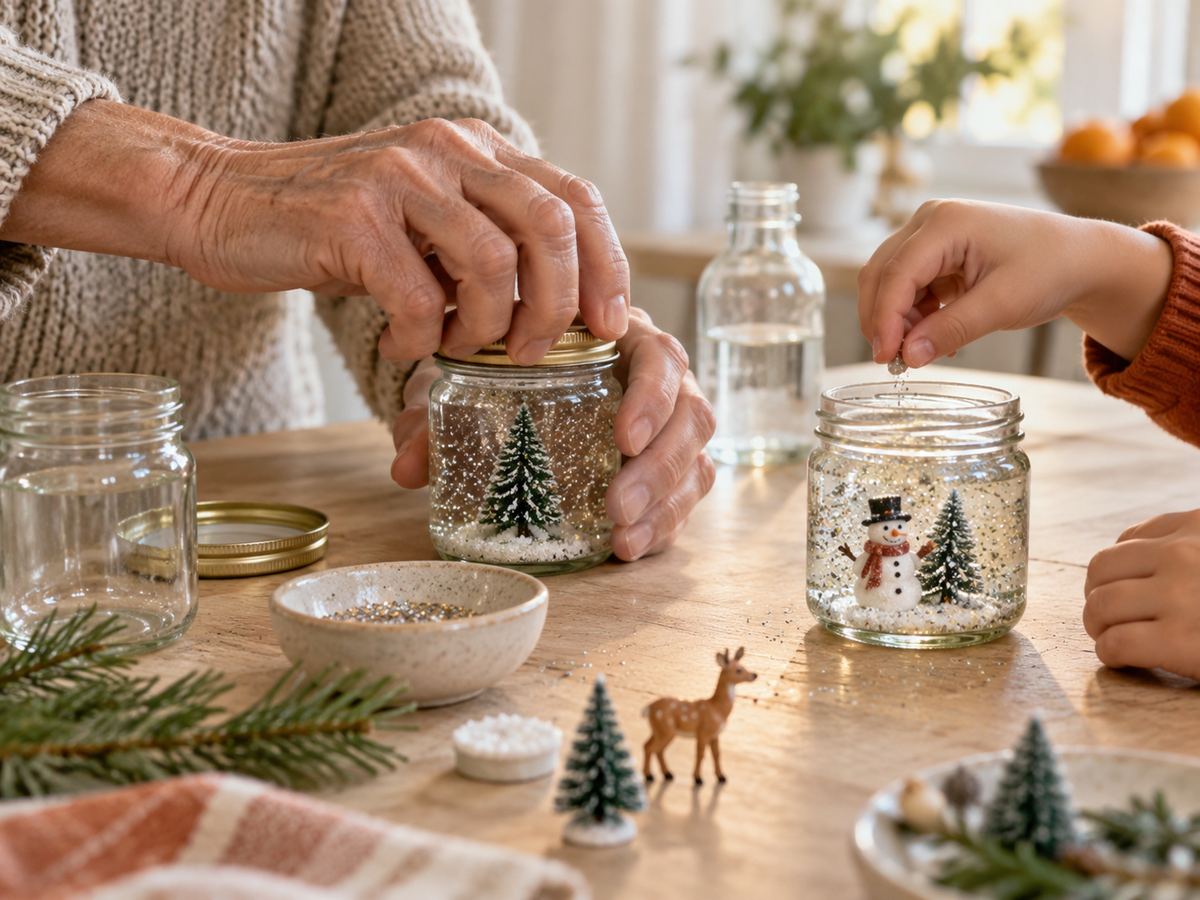
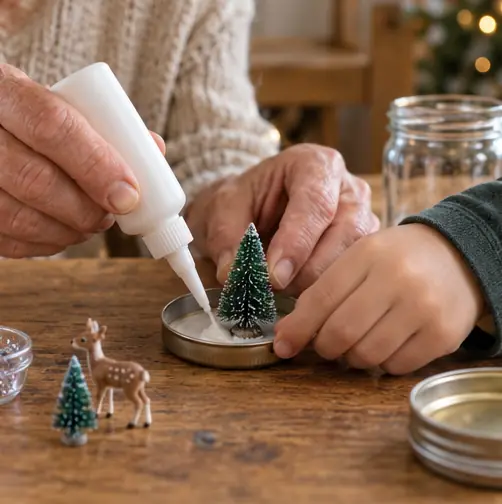
Grown-up step: glue the figure
Glue the figure to the inside of the lid. Let it cure overnight in a well-aired room.
 3
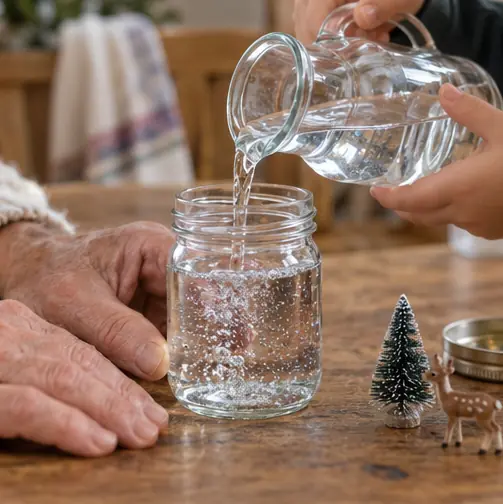
Fill the jar
Fill the jar almost to the top with distilled water.
 4
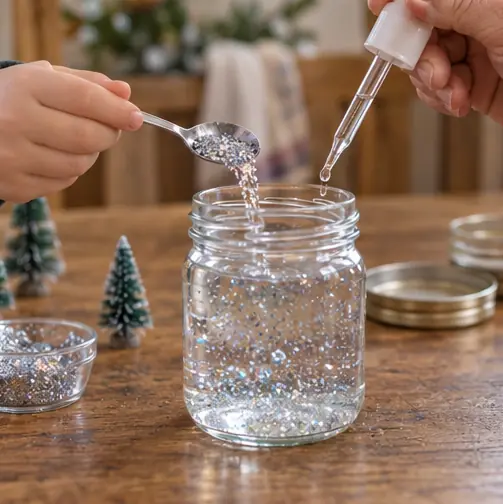
Add the snow
Add 1 teaspoon of glitter and 3 or 4 drops of glycerin. Glycerin makes the snow fall slowly.
 5
Close it tight
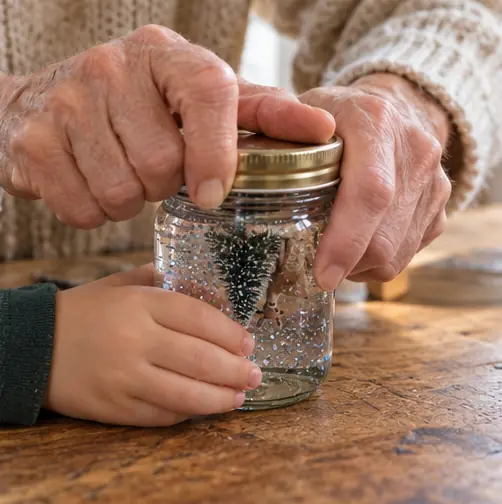
Screw the lid on firmly with the figure facing down into the water.
 6
Turn it over
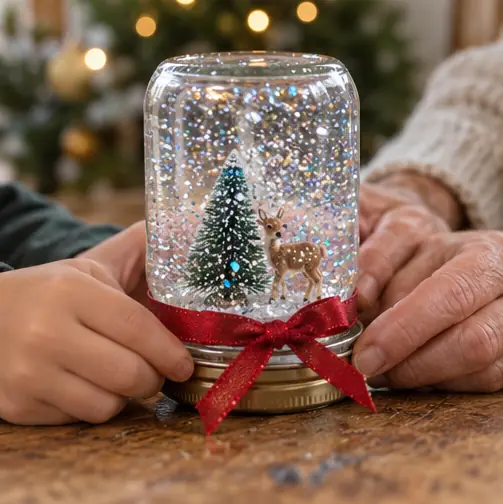
Flip it and watch the snow. Add a ribbon around the lid seam.
 Edie's tip
Plastic jars are lighter and won't break if dropped. They're a good swap if grip is weak.
Written by the DIY Project team. How we check · Report a mistake