What you'll need
Find it links go to Amazon. As an Amazon Associate we earn from qualifying purchases. How we make money
How to make it
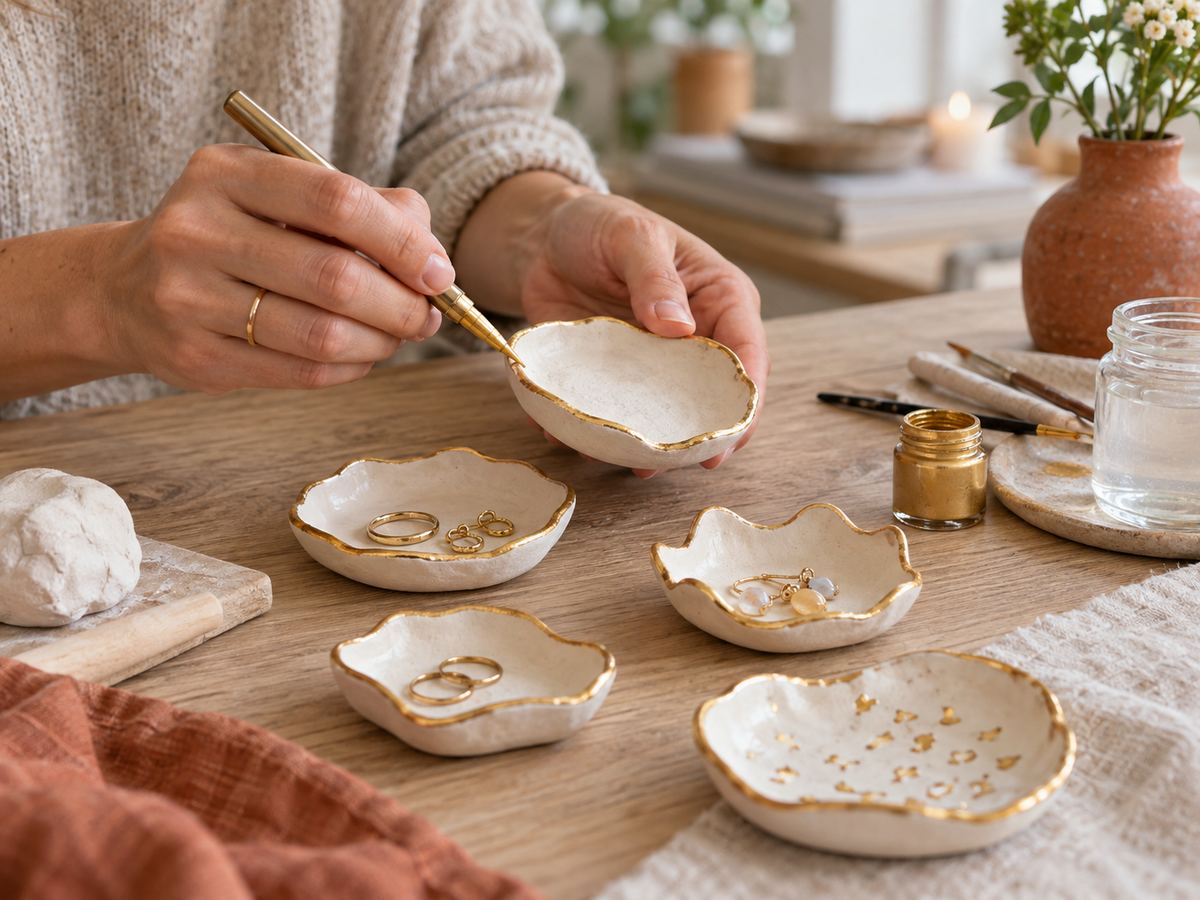
Air-dry clay isn't food safe or waterproof, so use these dishes for jewelry and keys only.
 1
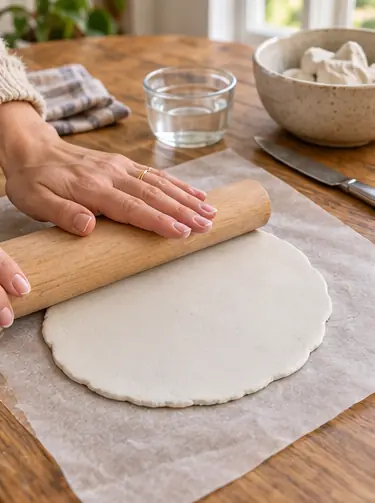
Roll the clay
Roll a ball of clay to about 1/4 in thick on parchment. Keep it even.
 2
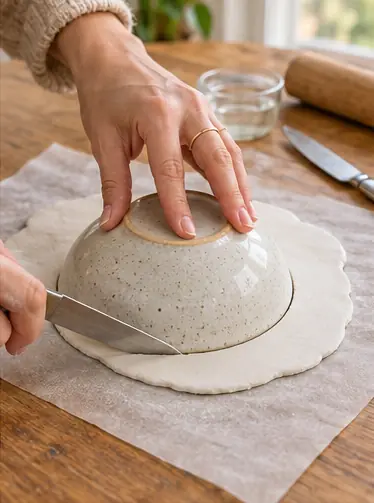
Cut the shape
Trace around a cup or bowl with a butter knife. Circles, hearts and ovals all work.
 3
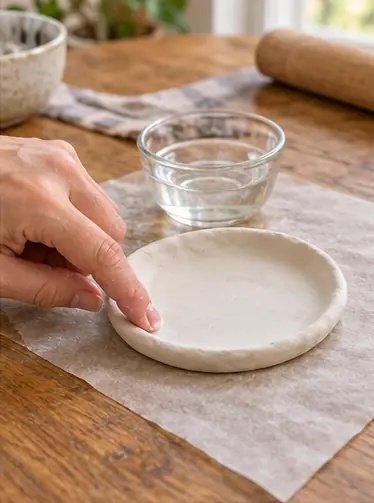
Smooth the edges
Dip a finger in water and run it around the edge until it's soft and round.
 4
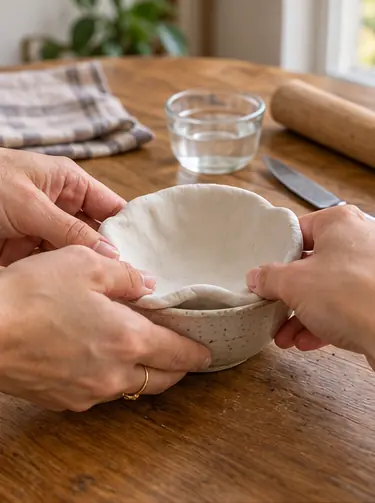
Shape the dish
Press the clay gently into a small bowl so the edges curve up. Leave it there to dry.
 5
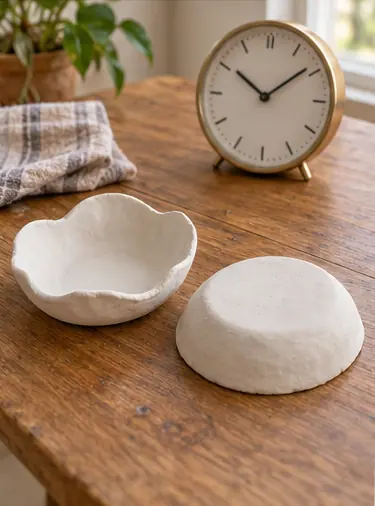
Let it dry
Wait 24 hours, pop it out and flip it. Wait another 24 hours.
 6
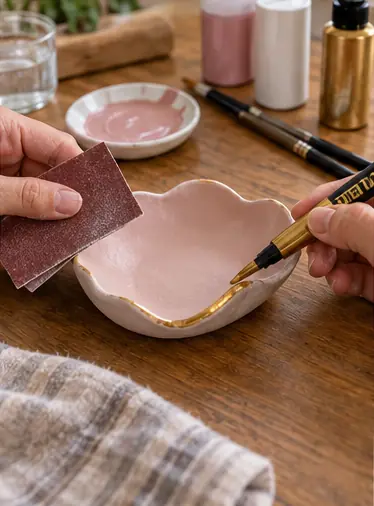
Sand and paint
Sand rough spots with 220 grit. Paint it, then add a gold edge with the paint pen.
 7
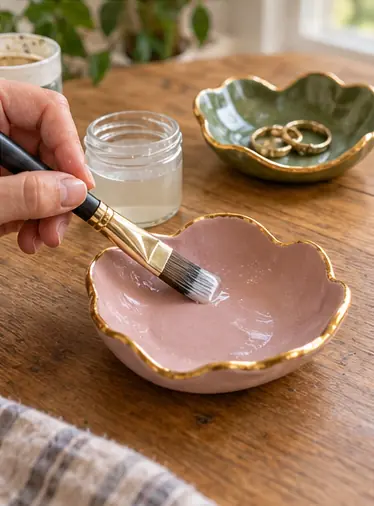
Seal it
Brush on 2 coats of gloss varnish. Drop your rings in. That's their new home.
 Edie's tip
Mix a pinch of black pepper into white clay before rolling. It dries looking like speckled stoneware.
Written by the DIY Project team. How we check · Report a mistake