What you'll need
Find it links go to Amazon. As an Amazon Associate we earn from qualifying purchases. How we make money
How to make it
Clamp your work, keep both hands behind the chisel's edge, and never chisel toward your hand or body.
 1
Cut and gauge
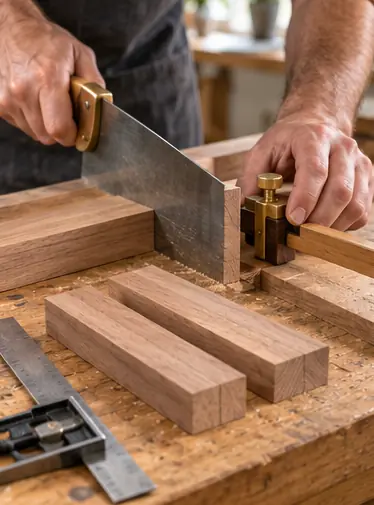
Cut 2 sides at 9 in and 2 ends at 5 in with square ends. Set the marking gauge to the board's thickness and scribe a line around both ends of every piece.
 2
Lay out the tails
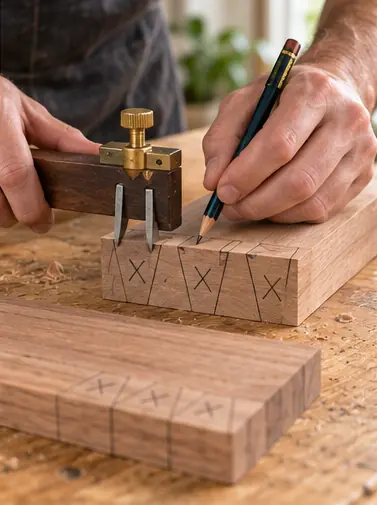
Mark 3 tails on each end of the long sides with the 1:8 marker, half pins at the edges. X out the waste so you never cut the wrong side.
 3
Saw the tails
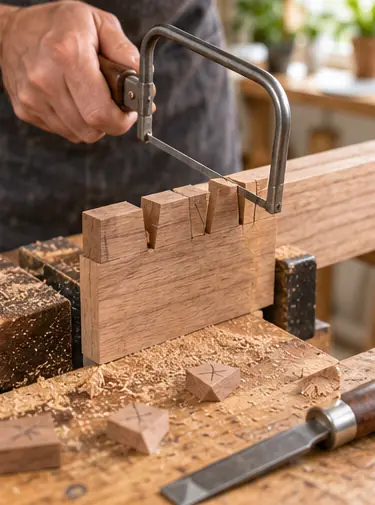
Saw on the waste side of each line down to the scribed line. Remove the waste with the coping saw and pare to the line with a chisel from both faces.
 4
Transfer to the pins
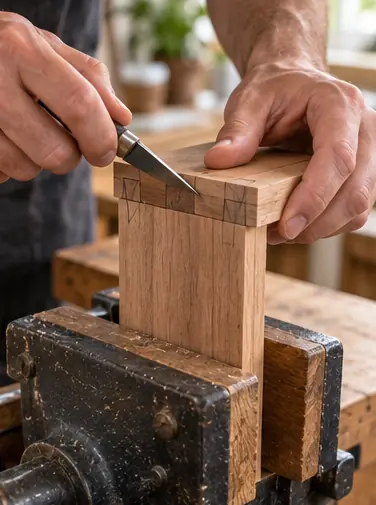
Stand an end piece in the vise. Lay its matching tail board on top, lined up, and knife around each tail.
 5
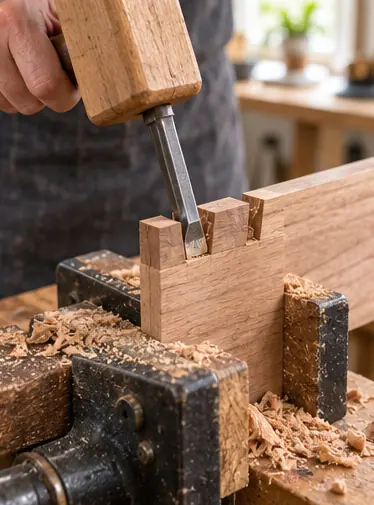
Cut the pins
Saw on the waste side of the knife lines. Chop out the waste with chisel and mallet, working halfway from each face.
 6
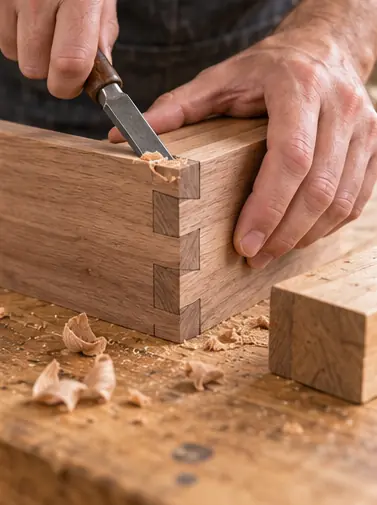
Dry fit and pare
Tap the joint together with a block. Shiny spots show what's rubbing. Pare those a hair at a time.
 7
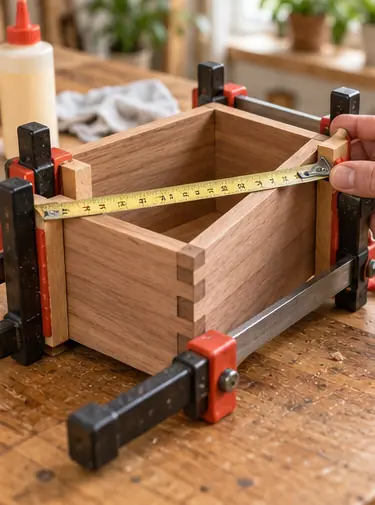
Glue up
Glue the joints, clamp lightly and measure the diagonals. Equal diagonals mean it's square.
 8
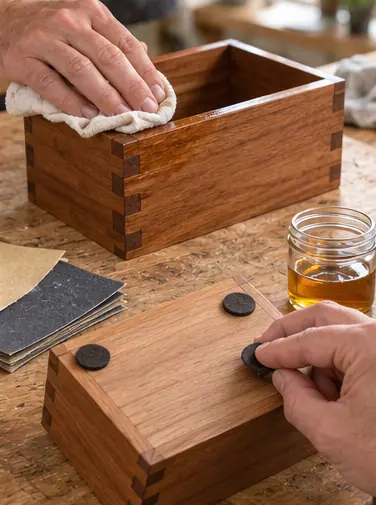
Finish the box
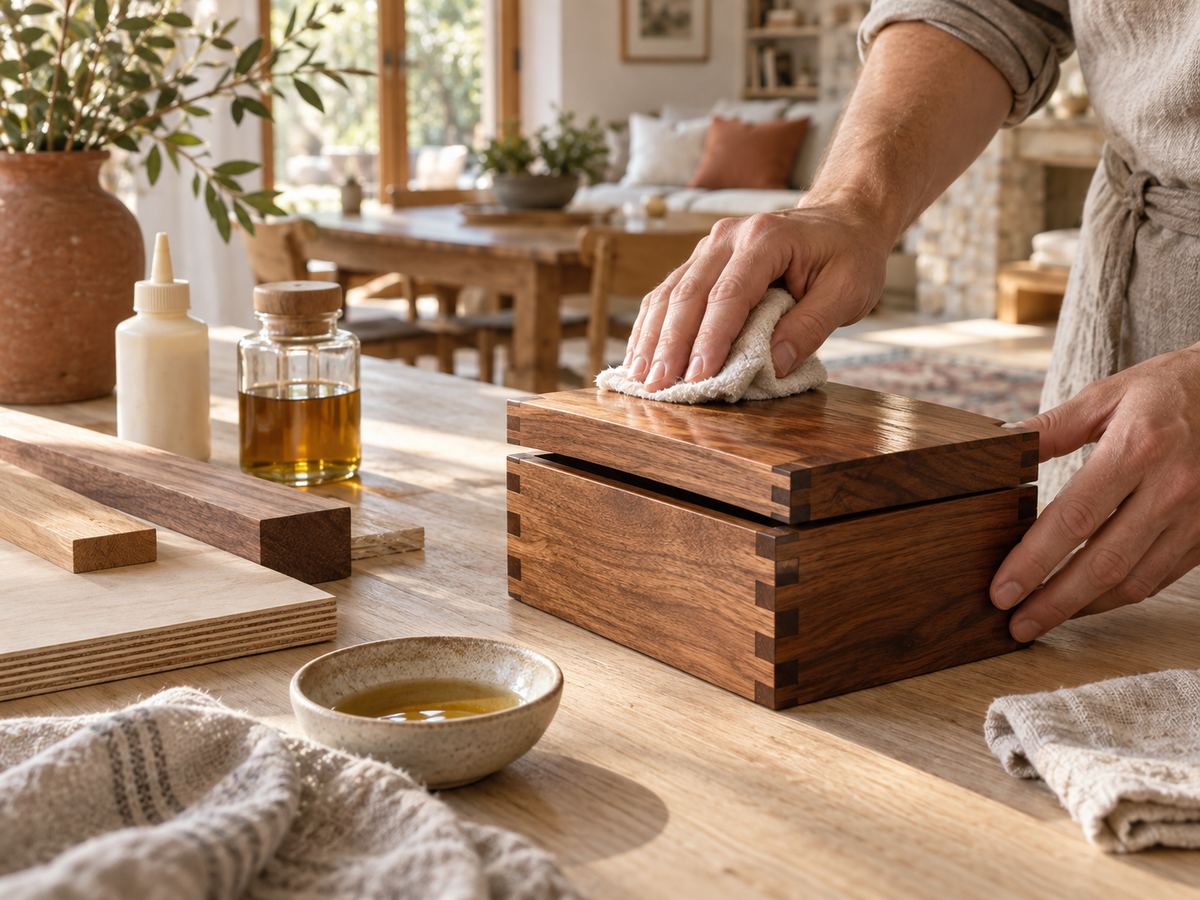
Plane the joints flush, glue on the plywood bottom and sand. Wipe on oil and stick felt pads underneath.
 Edie's tip
Cut a practice joint in pine first. Your second set of dovetails is always much better than the first.
Written by the DIY Project team. How we check · Report a mistake