What you'll need
Tools
- Respirator with organic vapor cartridgesFind it →
- Nitrile glovesFind it →
- Safety glassesFind it →
- Wire brushFind it →
- Circular or table sawFind it →
- Router with a flattening sled, or a planer for the final boardFind it →
- Random orbit sander and discs from 80 to 400 gritFind it →
- Heat gunFind it →
- Mixing cups and stir sticksFind it →
- Digital scaleFind it →
- ClampsFind it →
- LevelFind it →
Find it links go to Amazon. As an Amazon Associate we earn from qualifying purchases. How we make money
How to make it
Wear nitrile gloves and an organic vapor respirator when mixing and sanding epoxy, since uncured resin can cause lasting allergies. Serve food on it only if the resin is rated food safe.
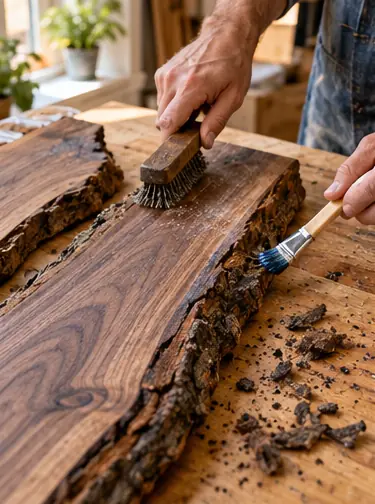 1
Prep the wood
Brush loose bark off the live edges with a wire brush. Brush a thin seal coat of epoxy on the edges so trapped air doesn't bubble into the pour.
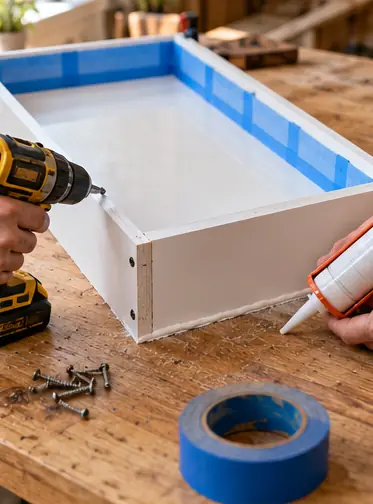 2
Build the mold
Screw melamine sides 2 in tall around a melamine base. Cover every inside surface with sheathing tape and caulk the outside seams.
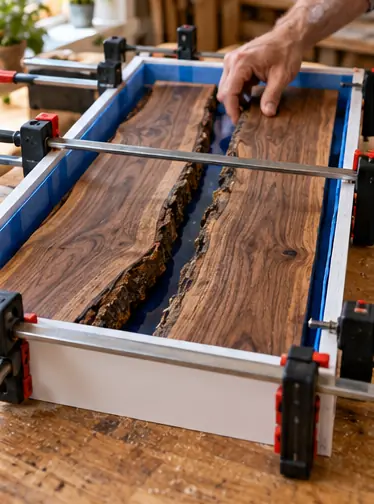 3
Set the slabs
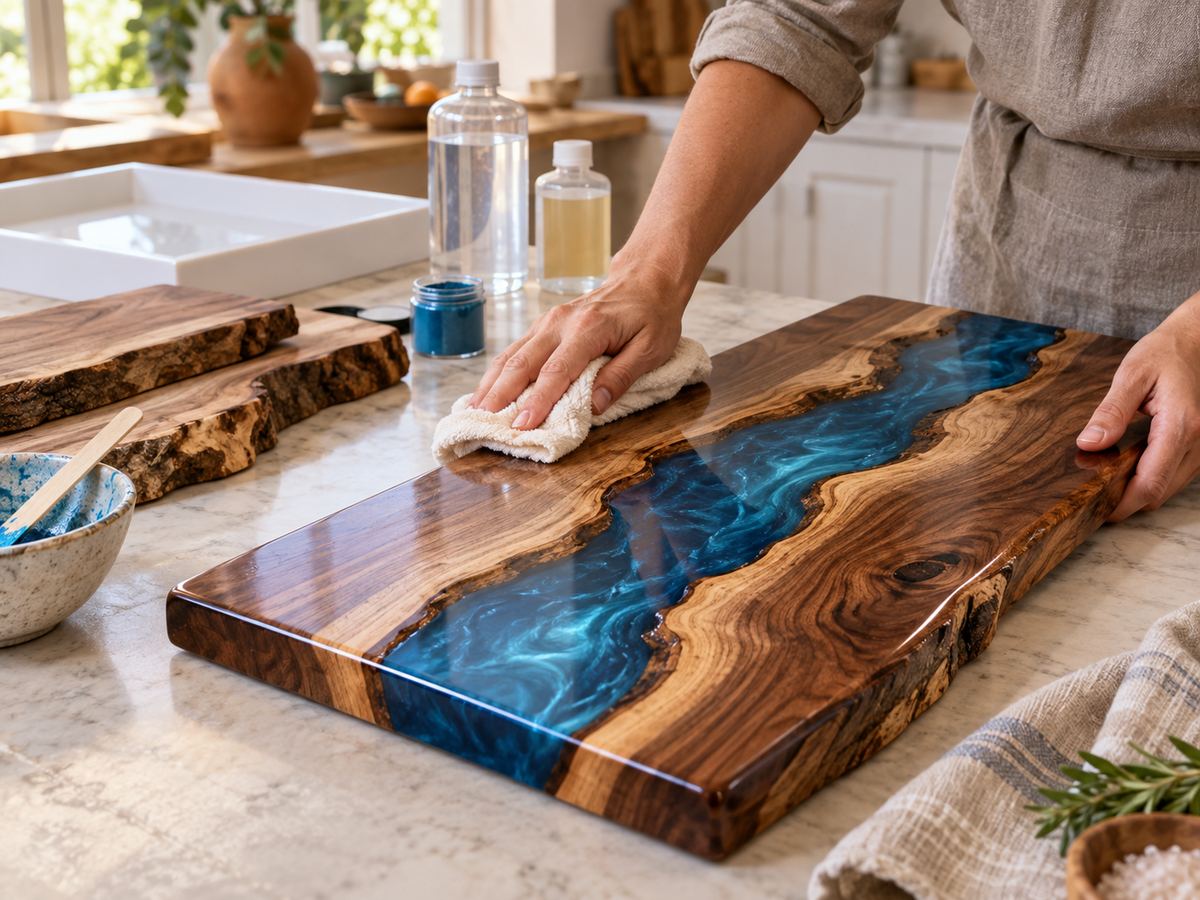
Lay the slabs in the mold, live edges facing each other with a 1 to 3 in gap. Clamp them down hard, since wood floats in epoxy.
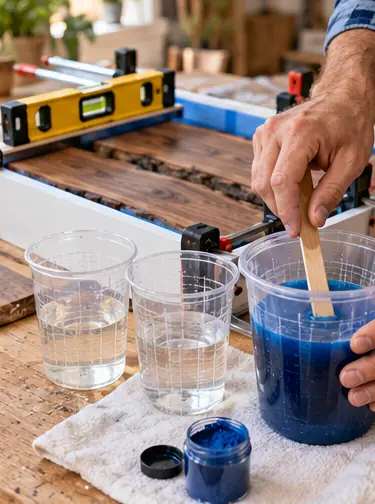 4
Mix the epoxy
Level the mold. Measure the epoxy exactly by the kit's ratio and stir 3 to 5 minutes, scraping the sides. Stir in the pigment.
 5
Pour the river
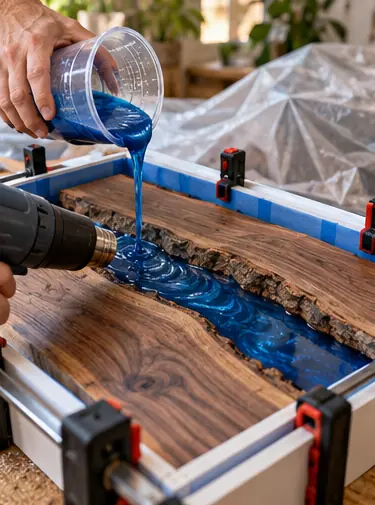
Pour slowly until it's slightly above the wood. Pass a heat gun over the surface to pop bubbles. Cover it from dust.
 6
Wait and demold
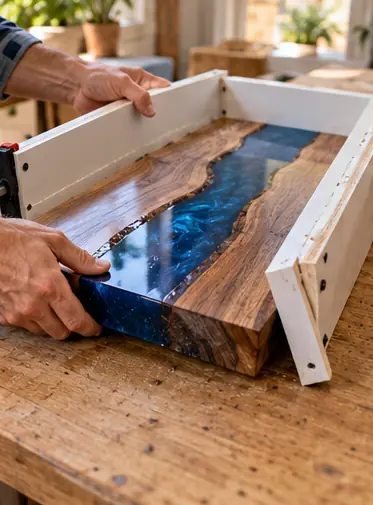
Let it cure for the time on the kit, often 72 hours. Unscrew the mold and pop the board out.
 7
Flatten and shape
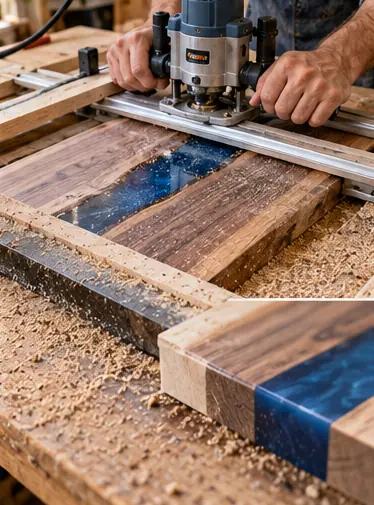
Flatten both faces with the router sled. Cut the ends square and round the corners.
 8
Sand and oil
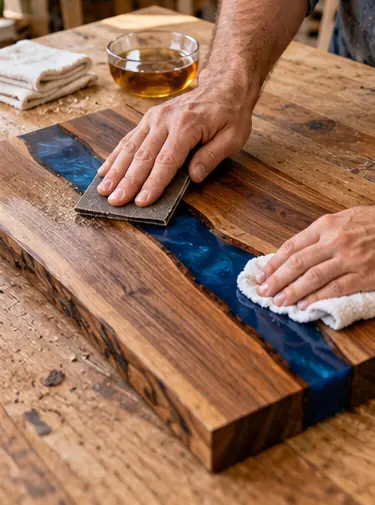
Sand from 80 up to 400 grit, since resin shows every scratch. Oil the wood and buff.
 Edie's tip
Never pour deeper than the kit's max depth. Too-thick epoxy overheats, cracks and can smoke.
Written by the DIY Project team. How we check · Report a mistake